Starting a Stream with OBS
Introduction
While Native Frame offers a robust SDK for integrating live streaming directly into your application, there are scenarios where using third-party broadcasting software can be advantageous. This guide focuses on using OBS (Open Broadcaster Software), a popular free and open-source software for video recording and live streaming.
Pros and Cons of Using Third-Party Software
Pros:
- Advanced Features: Software like OBS offers advanced features such as scene composition, multiple audio sources, and transitions.
- Flexibility: Can be used with various streaming platforms, not just Native Frame.
- Community Support: Large user base provides extensive tutorials and troubleshooting resources.
- Hardware Encoding: OBS can leverage hardware encoding capabilities for better performance.
Cons:
- Additional Setup: Requires separate software installation and configuration.
- Learning Curve: May take time to master all features and settings.
- Less Integration: Not as tightly integrated with your application as Native Frame's SDK.
- Potential Compatibility Issues: Updates to OBS or your operating system might cause temporary incompatibilities.
Setting Up OBS with Native Frame
Prerequisites
- OBS Studio installed on your computer (download from obsproject.com)
- A Native Frame account with streaming permissions
- Your Native Frame RTMP URL and Stream Key
Step 1: Obtain Your Stream Details
- Log in to your Native Frame dashboard.
- Navigate to the Streams section.
- Create a new stream or select an existing one.
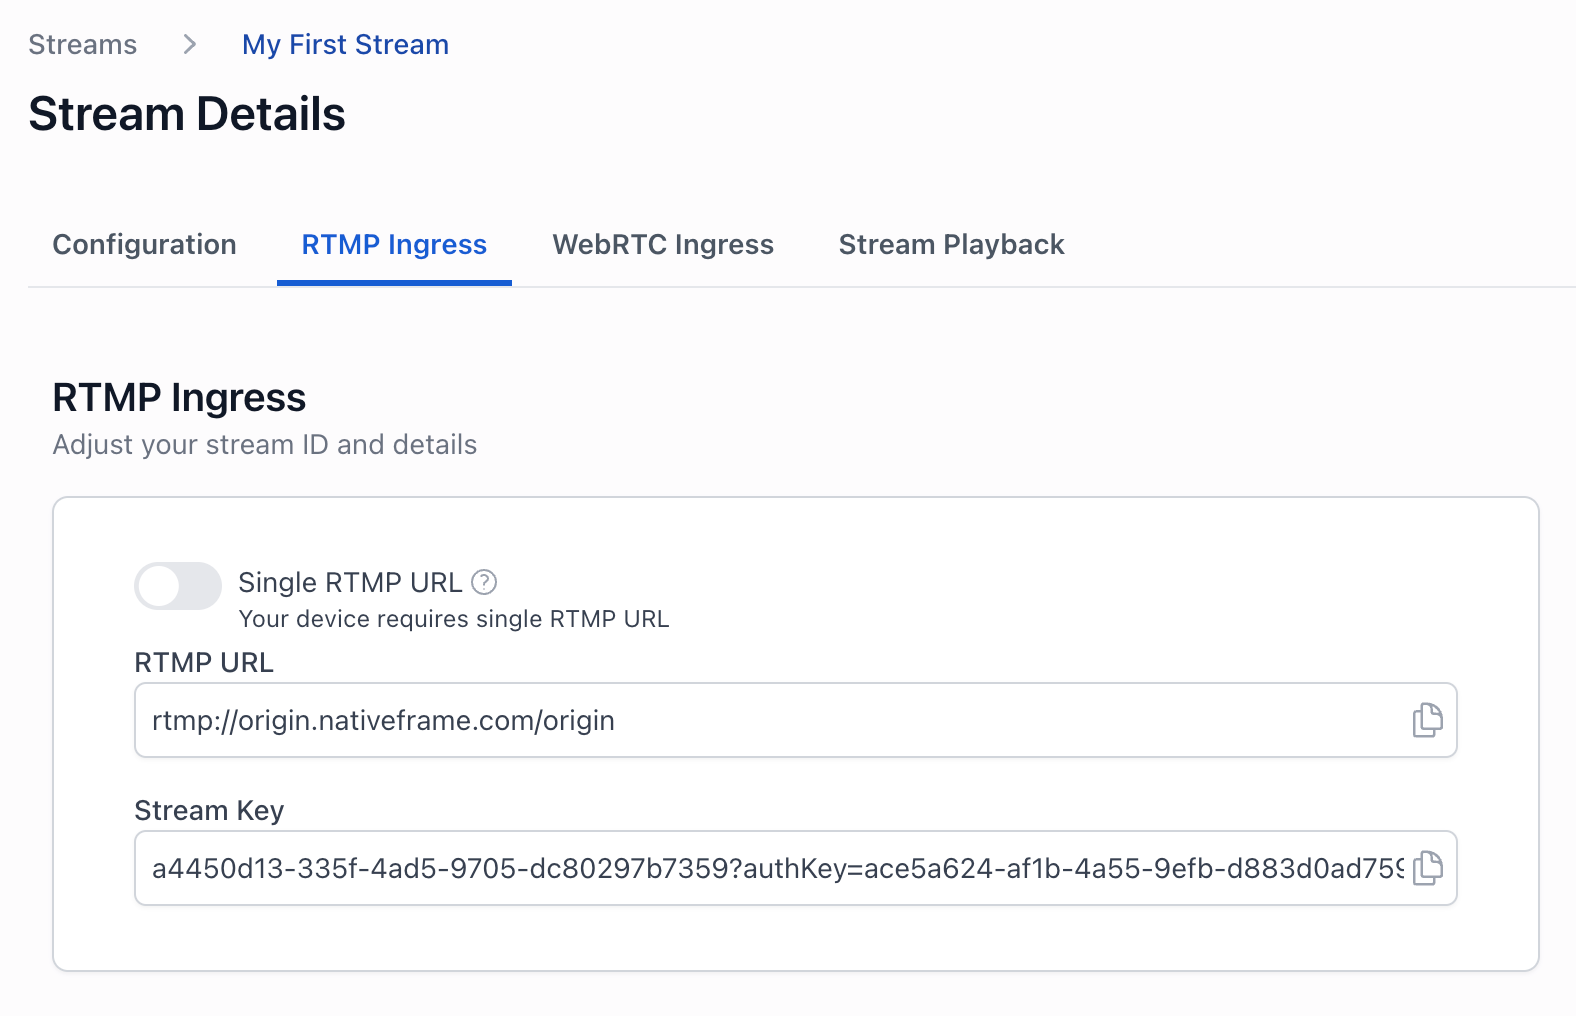
- Note down the RTMP URL and Stream Key provided.
The dashboard gives you the RTMP URL (the Server field in OBS) and a Stream Key that already includes the query string — paste both in unchanged. The full ingest URL has the shape:
rtmp://{host}/origin/{streamKey}?authKey={secret}&ns={projectId}
If you build the URL yourself, the ns query parameter is your Project ID — the same UUID shown on your project page — not an environment name (an older convention like ?NS=dev no longer works), and it must be lowercase ns. The Stream Key alone does not identify your project, so the URL must carry ns.
Step 2: Configure OBS
- Open OBS Studio on your computer.
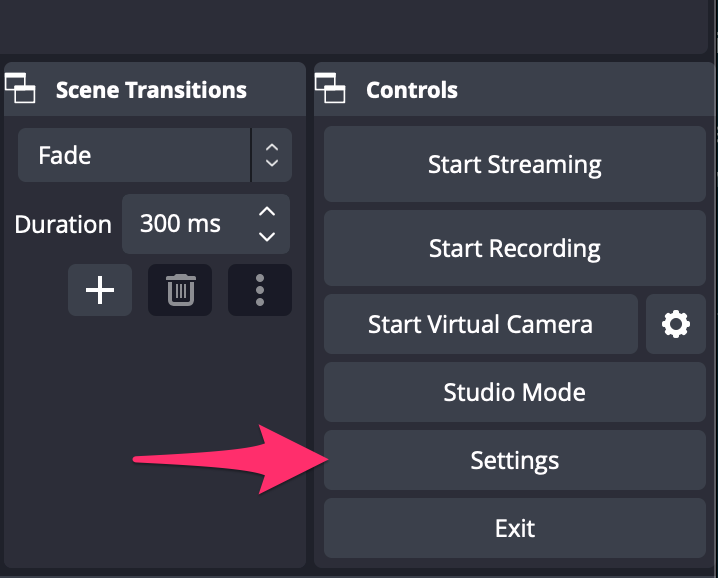
- Click on "Settings" in the lower-right corner.
- Select the "Stream" tab on the left.
- For "Service", select "Custom".
- In the "Server" field, enter your Native Frame RTMP URL.
- In the "Stream Key" field, enter your Native Frame Stream Key.
- Click "Apply", then "OK" to save the settings.

Step 3: Set Up Your Scene
- In the main OBS window, under the "Scenes" box, click the "+" icon to create a new scene.
- Name your scene (e.g., "My Native Frame Stream").
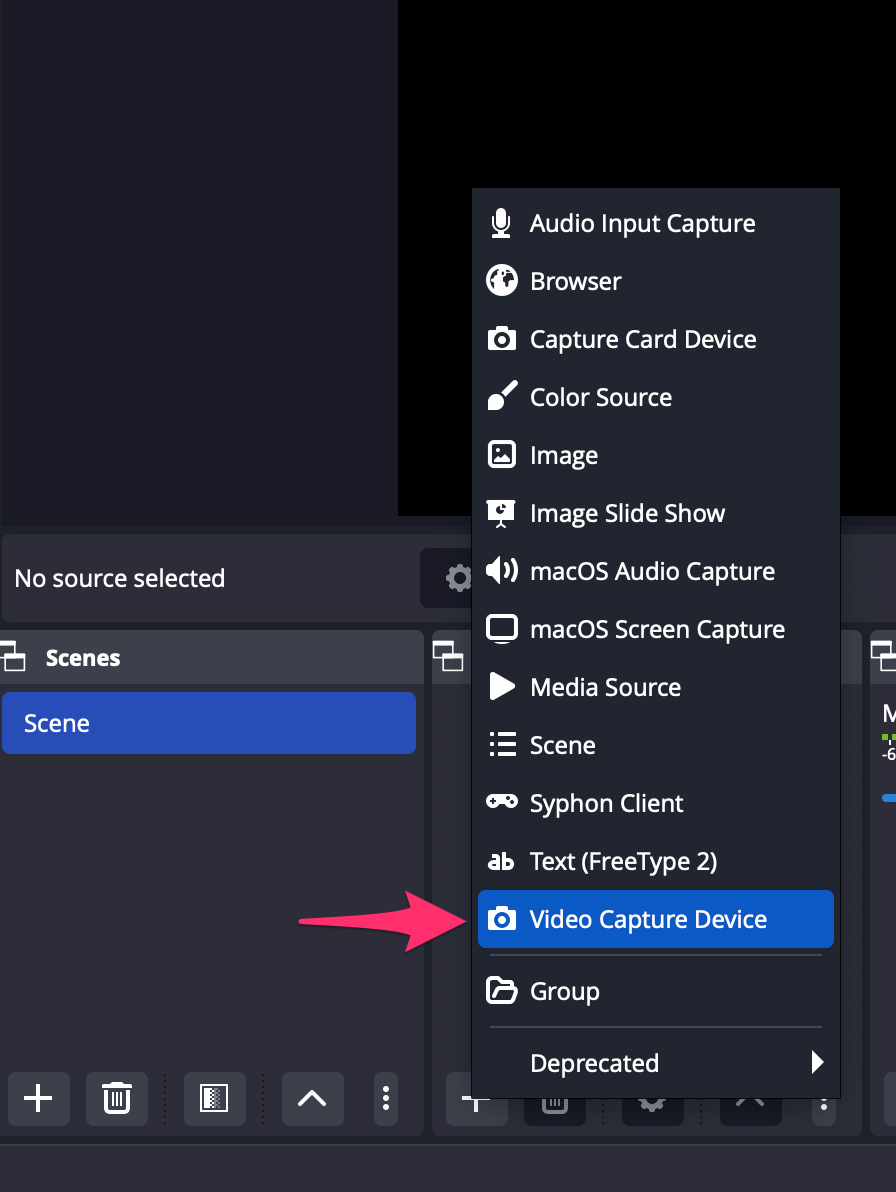
- In the "Sources" box, click the "+" icon to add a source.
- Choose the type of source you want to stream (e.g., "Display Capture" for your screen, "Video Capture Device" for a camera).
- Configure the source as prompted by OBS.
Step 4: Audio Setup
- In the main OBS window, locate the "Audio Mixer" section.
- Ensure the correct audio inputs are enabled and levels are appropriate.
- Use the sliders to adjust volume levels as needed.
Step 5: Start Streaming
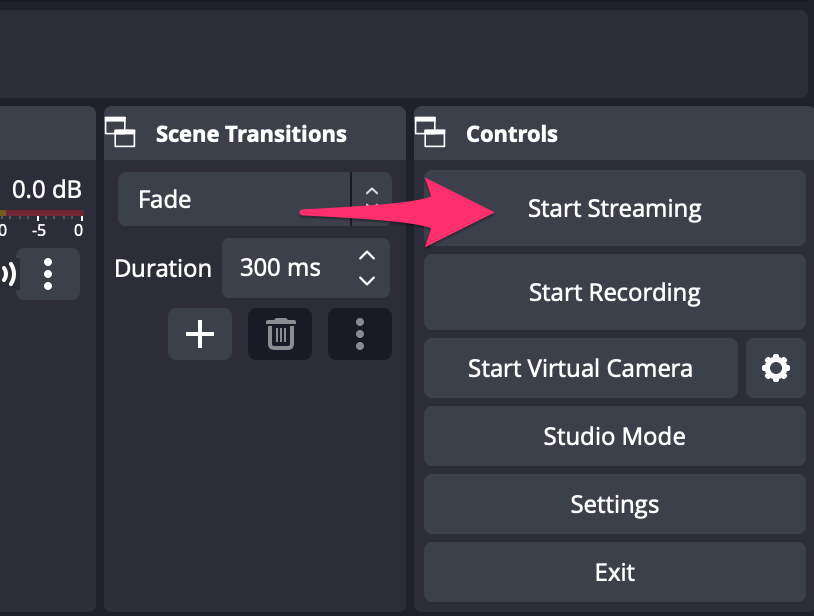
- Once your scene and audio are set up, click the "Start Streaming" button in the main OBS window.
- OBS will connect to Native Frame's servers and begin streaming your content.
Step 6: Monitor Your Stream
- Return to your Native Frame dashboard.
- Navigate to the Streams section and select your active stream.
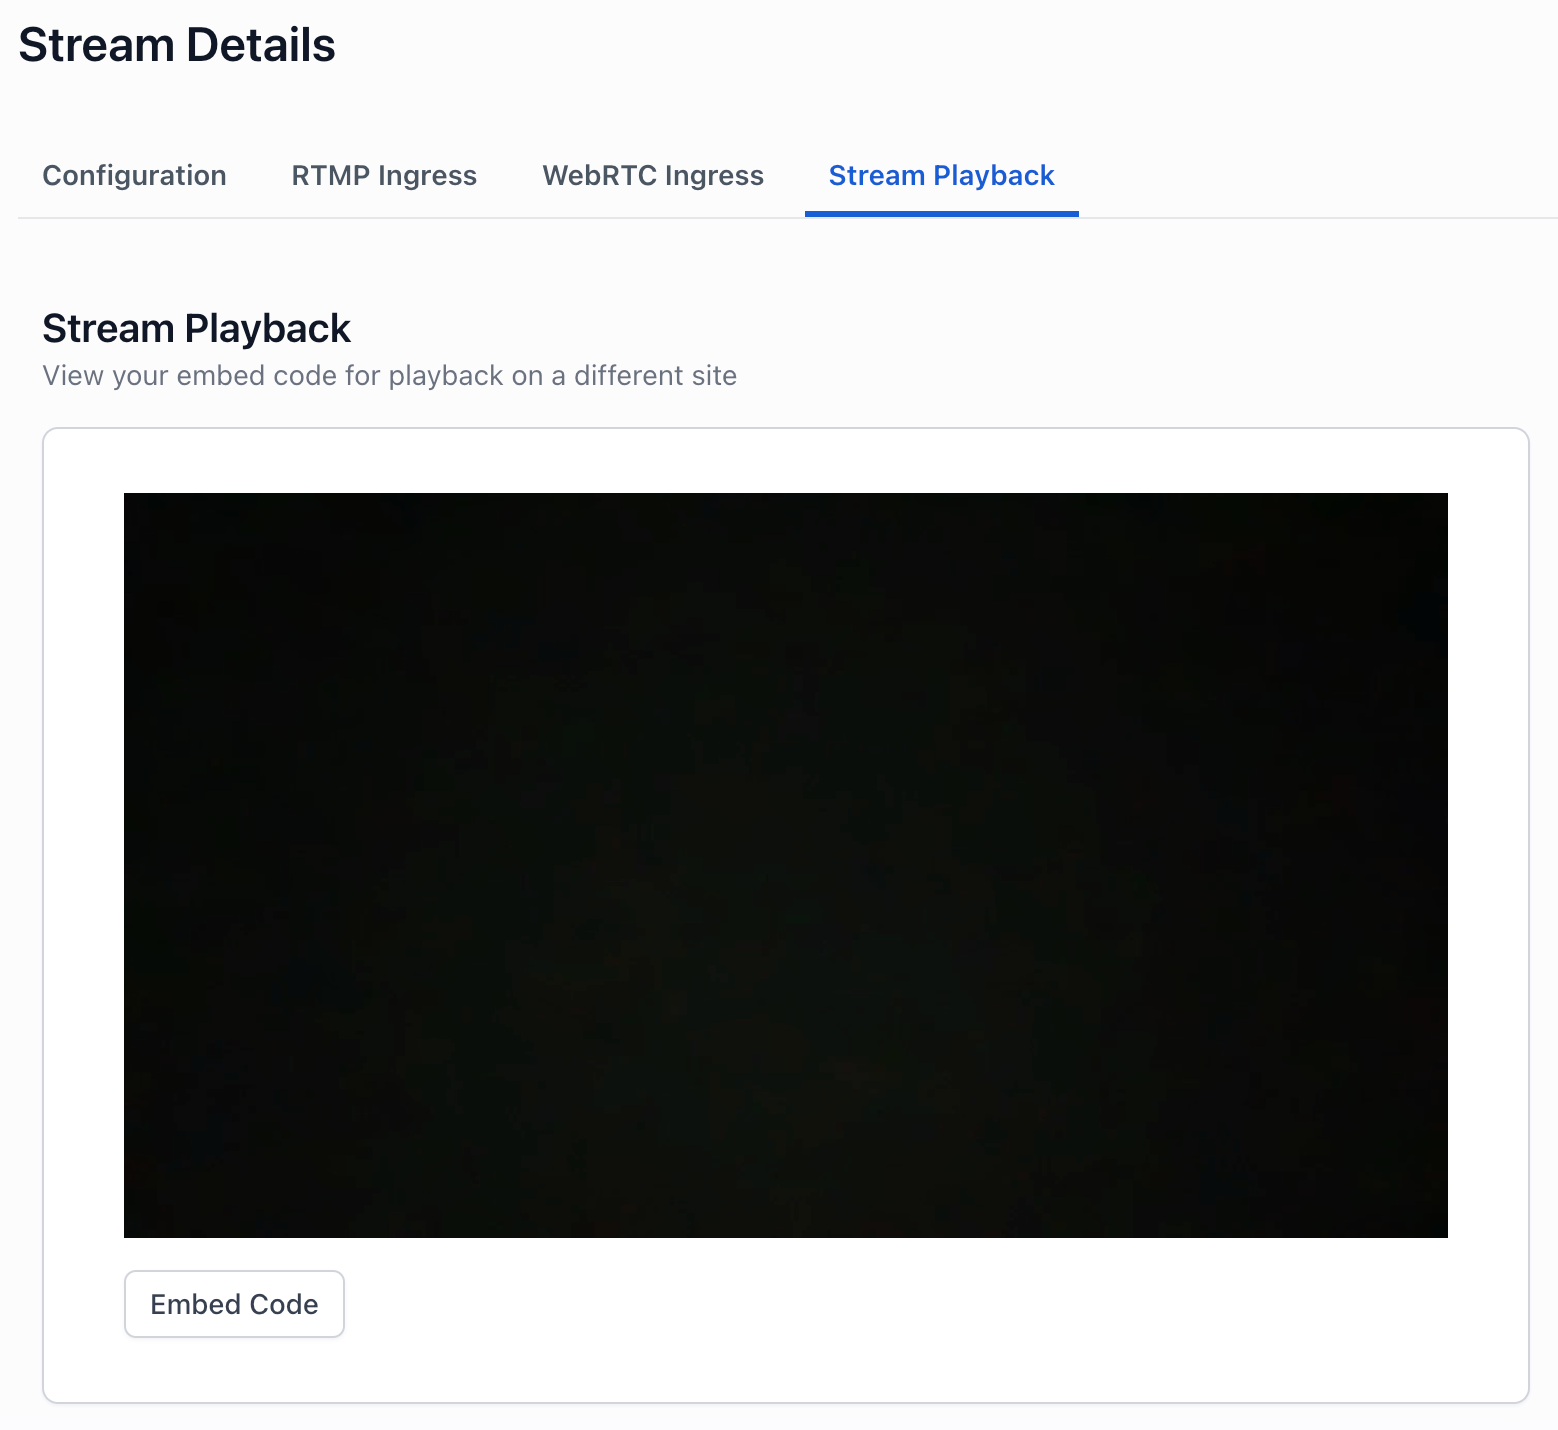
- On the Stream Details page, nagivate to "Stream Playback" and click the "Play" button to view your stream.
Best Practices
- Test Before Going Live: Always do a test stream to check your setup before any important broadcasts.
- Monitor CPU Usage: Keep an eye on OBS's stats window to ensure your computer can handle the encoding load.
- Use Wired Internet: For the most stable stream, use a wired Ethernet connection instead of Wi-Fi.
- Optimize OBS Settings: Adjust video bitrate and encoding settings based on your internet upload speed and computer capabilities.
- Regular Updates: Keep OBS and your Native Frame integration up-to-date for the best performance and security.
Troubleshooting
- Stream Not Connecting: Double-check your RTMP URL and Stream Key in OBS settings.
- Poor Stream Quality: Lower your output resolution or bitrate in OBS settings.
- High CPU Usage: Consider using hardware encoding if available or lowering your encoding quality.
- Audio Sync Issues: Adjust the audio sync offset in OBS for each source as needed.
Conclusion
Using OBS with Native Frame combines the power of professional broadcasting software with Native Frame's robust streaming infrastructure. While it requires some additional setup compared to using Native Frame's SDK directly, it offers advanced features that can enhance your streaming capabilities.
For more detailed information on Native Frame's streaming capabilities or API integration, refer to our API documentation.